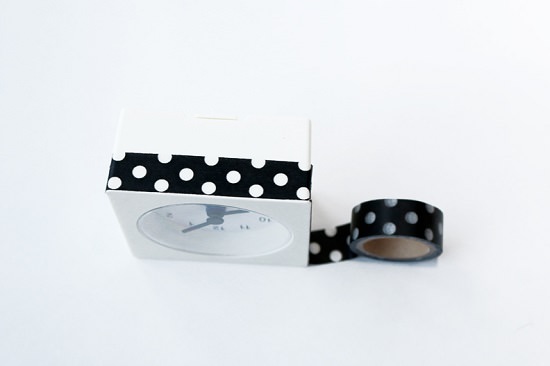
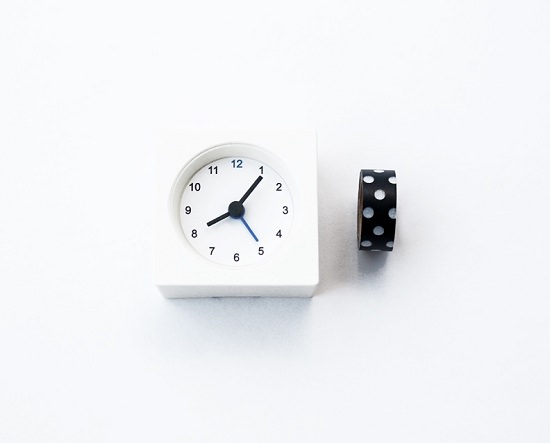
This DIY Washi Tape Clock recently got the easiest makeover, and now it’s all the cuter. The DIY is super easy and hardly takes any time.
If you happen to have an old alarm clock, spice up its look with this easy and cheap DIY Washi Tape Clock project. All you need is multi-colored and multi-patterned washi tape along with a white alarm clock. This is a fun project to do with your kids at weekends or on holidays.
DIY Washi Tape Clock
This is perhaps one of the easiest and cost-effective upcycling projects of mine to date.
Materials
- Washi Tape
- White Alarm Clock
Directions
- Simply start on the bottom of your alarm clock (to hide the uneven ends) and begin to wrap your washi tape around the surface.
- Every time you make a complete circle, start a whole new row of washi tape and wrap around again until the surface is completely covered. We told you it was easy!

We love washi tape and also quick projects like this one. For more such short, super economical, and beginner-friendly projects continue visiting us! Show your love and support, it means a lot!

