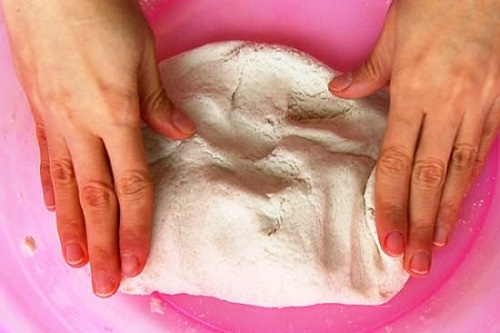
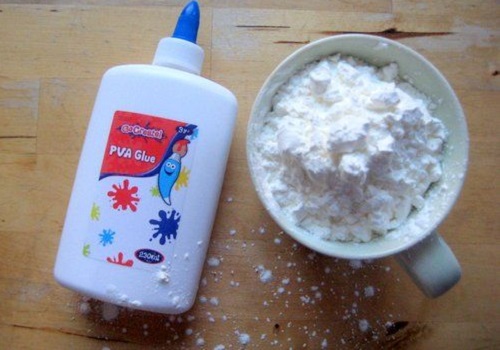
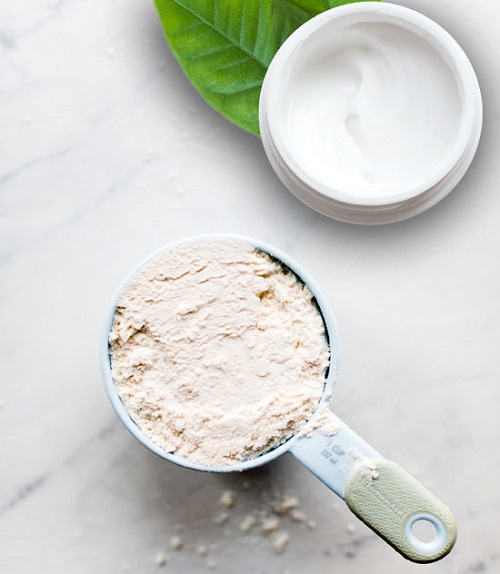
Don’t spend your money on store-bought air dry clay when you can make this versatile craft product at home using these air dry clay recipes!
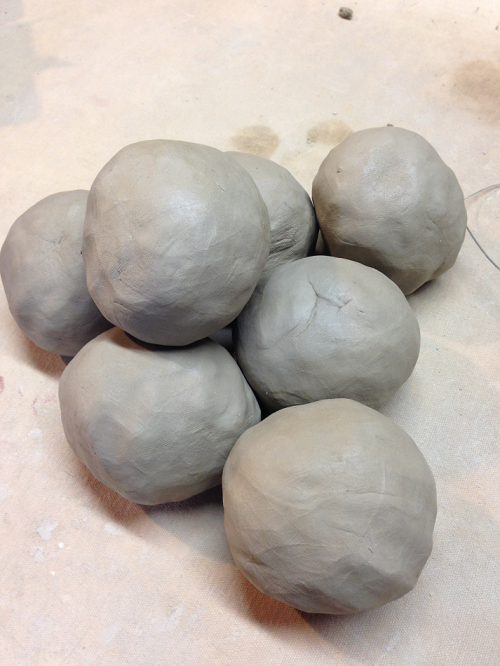
Out of all sorts of clay, air-dry clay is versatile and easy to work with because it cures at average room temp that’s why it doesn’t need to be baked in an oven or kiln. If you love to make sculptures, Easter eggs, hanging planters, Christmas ornaments, and similar stuff out of clay, why opt for ready-made air dry clay when you can make it cheaply at home with these simple and quick air dry clay recipes.
Air Dry Clay Recipes
If you don’t know how to make air-dry clay at home, check out the below recipes that use easy-to-locate ingredients from your pantry.
1. Basic Air Dry Clay Recipe
This simple and easy-to-make air dry clay recipe is highly economical and beginner-friendly.
Supplies
- 1 Cup Cornstarch
- 2 Cups Baking Soda
- 1.5 Cup Water
- A Non-Stick Pot
- Paper Towel
Directions
- Add cornstarch, baking soda, and water into a non-stick pot.
- Next, put the pot on the stove and heat it on medium heat. Beat the mixture continuously until you get the consistency of mashed potatoes.
- Once it’s done, transfer the mixture into a separate container, cover it with a wet paper towel, and let it cool down.
- After that, knead the mixture, and your air-dry clay is ready for crafting.
- Remember, don’t over or undercook the ingredients and avoid using excessive amounts of water.
2. Fail-Proof Air Dry Clay Recipe
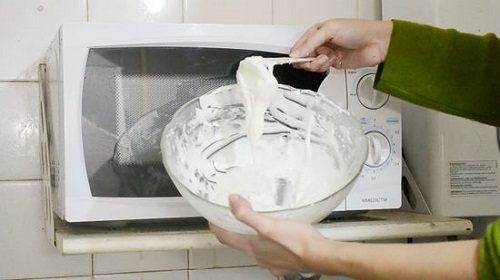
If you want a fail-proof and crack-proof air dry clay, the below recipe is for you!
Supplies
- 1/2 Cup of Cornstarch
- 1/2 Cup of White Craft Glue
- 2 Tbsps of Canola Oil or Other Vegetable Oil
- 1 Tbsp of Lemon Juice
- A Microwave-Safe Bowl
- Wooden Spatula
- Parchment Paper
Directions
- Add cornstarch and white craft glue into a microwave-friendly bowl and combine them until you get smooth icing-like consistency.
- Next, combine lemon juice and canola oil into the mix. After that, place the bowl into the microwave on high for 30 seconds.
- After that, take it out, give it a quick stir, and put it back inside the microwave for another 30 seconds.
- Once you get the dough-like consistency, place the clay on a piece of parchment paper sprinkled with cornstarch and gently knead the dough until it stops sticking.
Note: Avoid under and over-cooking this mixture. Double the ingredients if you want more air-dry clay.
3. No-Cook Clay Recipe
Are you looking for an instant air-dry clay recipe that doesn’t require cooking or baking at all? Check out the below recipe that fits the bill.
Supplies
- 1 Cup Baby Powder
- 1/3 Cup Elmer’s Glue
- 5-10 Drops of Baby Oil
- A Spoon
- Mixing Bowl
- An Airtight Container
Directions
- Pour a cup of baby powder, 1/3 cup of Elmer’s glue, and 5-10 drops of baby oil into a mixing bowl.
- Next, mix the ingredients until they bind completely. Add more glue if the mixture seems dry. But if it feels sticky, add more baby powder.
- Once the mix starts to bind, take a little bit of baby powder on both of your palms and knead the dough.
- After a few minutes, your air-dry clay is ready to do the magic.
4. Two Ingredients Air Dry Clay Recipe
Don’t have cornstarch and glue handy? No worries, you can still make air-dry clay using the below recipe.
Supplies
- 3-5 Tbsps of All-Purpose Flour
- 1-2 Tbsps of Body Lotion
- A Mixing Bowl
Directions
- Gather 3-5 tbsps of all-purpose flour and 1-2 tbsps of body lotion (any brand).
- Next, add all the ingredients into a mixing bowl and beat them properly.
- After that, knead the dough until you get a clay-like texture.
- Finally, you can make clay crafts with your kiddos and have fun.
5. Self Hardening Clay Recipe
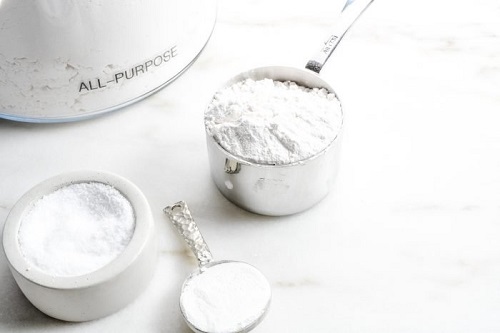
Here is another no-bake recipe that only needs flour and salt to make air-dry clay in no time.
Supplies
- 4 Cups of Flour
- 1 1/2 Cups of Salt
- 1 1/2 Cups of Water
- A Bowl
Directions
- Take a large mixing bowl and add 4 cups of flour and 1 1/2 cups of salt in a bowl.
- Next, gradually add water to this mixture and stir properly to make a ball.
- Once you’re done, knead the mix until it no longer falls apart.
- When not in use, cover the air-dry clay in a saran wrap.
Note: You can add a couple of drops of food coloring in the above recipes to get the desired color.
How to Store Homemade Air Dry Clay?
Either it’s your homemade air dry clay or the store-bought one, the most reliable approach to make their shelf life indefinite is to store the extra stash of clay in ziplock bags and then inside an airproof container.
Final Thoughts
After reading this article, we hope all your doubts related to air-dry clay are gone now. Besides, if you don’t know how to make some smashing crafts with clay, this article might you.

