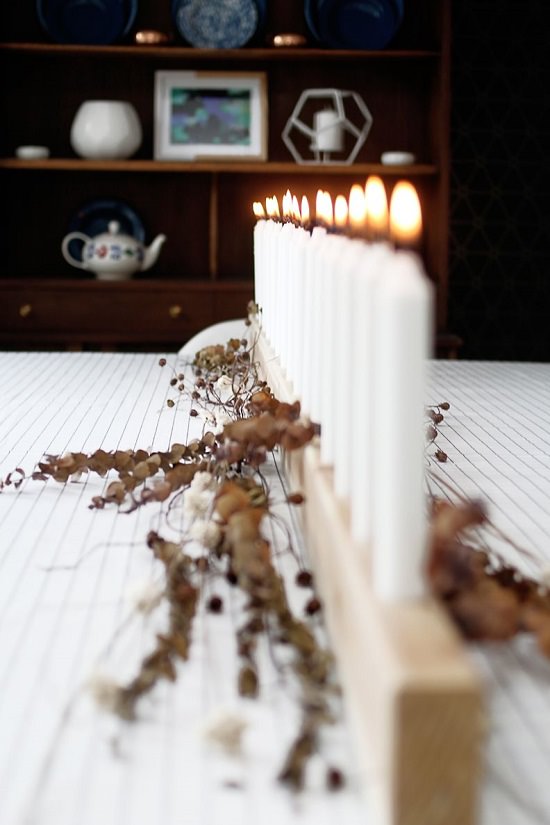
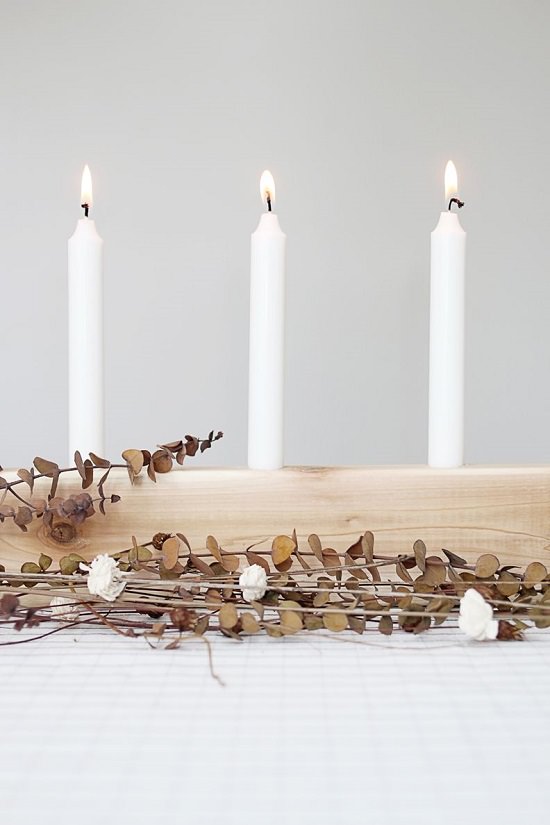
This DIY wood candelabra is a perfect centerpiece for both home and office setup. It’s easy to make and modern and simple at the same time.
Okay, so this DIY should be described as a simple, stylish, and modern centerpiece.
You must have thought that candelabras are a wonderful decor item that makes decorations more beautiful. If you have started using candelabras for a while, you can’t deny the reality that most candelabras sold in online stores are quite expensive. And that thing hampers the heart of candelabras lovers a lot.
No need to worry, especially for you. I have a piece of good news. For that you do not have to empty your wallets to purchase a candelabra, In the article, I have given an amazing way to create your own candelabra for your dining table this fall!
Materials Required For DIY wood candelabra
- 2x4x6 Treated wood drilled rail
- Chandelier candles
- Flowers and greenery
Note: Please use common sense when working with candles. If your table is shorter or you don’t feel comfortable, it’s advisable to buy a 2×4 and lay on the widest part. From there, you can drill your own holes accordingly. It will look just as nice!
Instructions
1. First you have to measure, how long your dining table is. Then cut your 2×4 accordingly. If it happens to be the perfect length, which most standard dining tables are, even better! The longer the centerpiece, the more stable it is.
2. Twist and set your candles with utmost precaution into the pre-drilled holes.
3. Disperse your greenery and flowers on either side of your centerpiece.
4. Enjoy the beautiful decor !!
We love the Scandinavian vibe from the wood and neutral colored greenery. It’s the perfect look for fall if you are into historic era! You can also experiment with it according to your taste.


