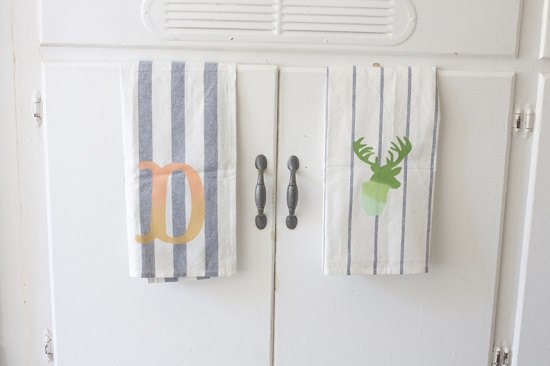
Have a look at this DIY Stenciled Tea Towels article to transform the look of your old drab tea towels easily and inexpensively!
Instead of throwing your old tea towels, spruce up their appearance with this DIY Stenciled Tea Towels article.
DIY Stenciled Tea Towels
Every crafter learns a new craft and I am so excited to share what I learned with you! Last weekend I went out of town for a women’s retreat. One of the evenings was an organized craft night where we learned to stencil using freezer paper! I have always wanted to learn, I even bought the freezer paper a year ago that’s still sitting on top of my fridge!! It looks a lot harder than it is – trust me!
What You Will Need
- Freezer paper
- Pencil
- Monogram letter or design (to trace)
- X-acto knife (or if you’re lucky, a Cricut or Silhouette machine)
- Paint (Martha Stewart’s brand)
- Fabric Medium (Martha Stewart)
- Stencil paint brush
- Parchment paper
- Iron
- Tea towel (you can find them cheap at Ikea or even the dollar store)
Directions
- First, trace out a letter or design you would like on your towel using your pencil and freezer paper.
- Carefully cut out the design using the X-acto knife. Be sure to have something placed underneath so you don’t cut through something important!
- Once your design is cut out, place the plastic side down and iron your stencil to the towel. Make sure no edges are lifted and the stencil is completely adhered to the towel.
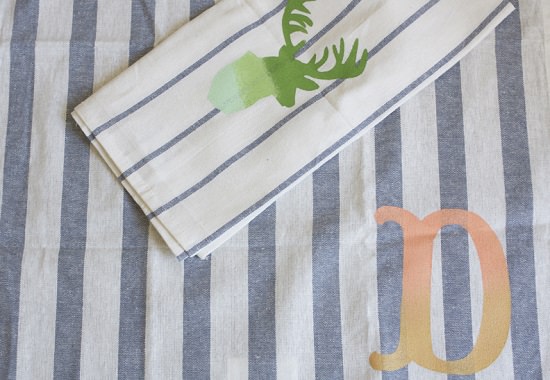
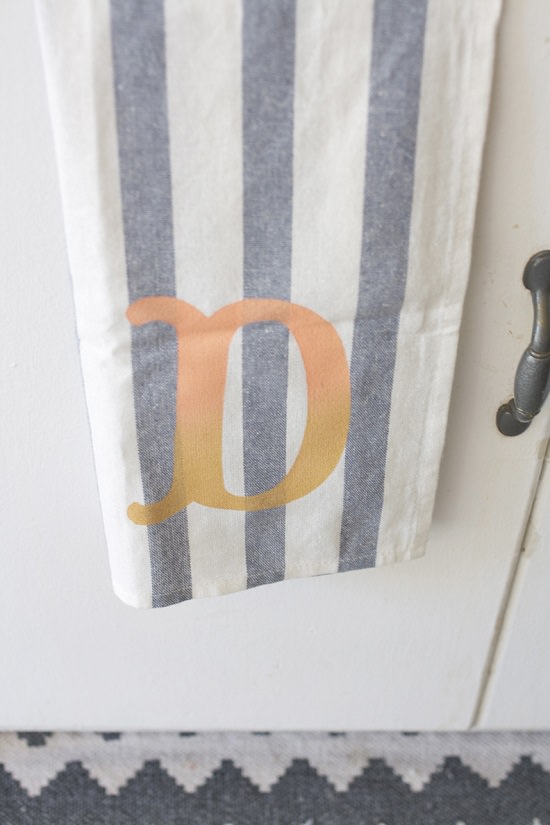
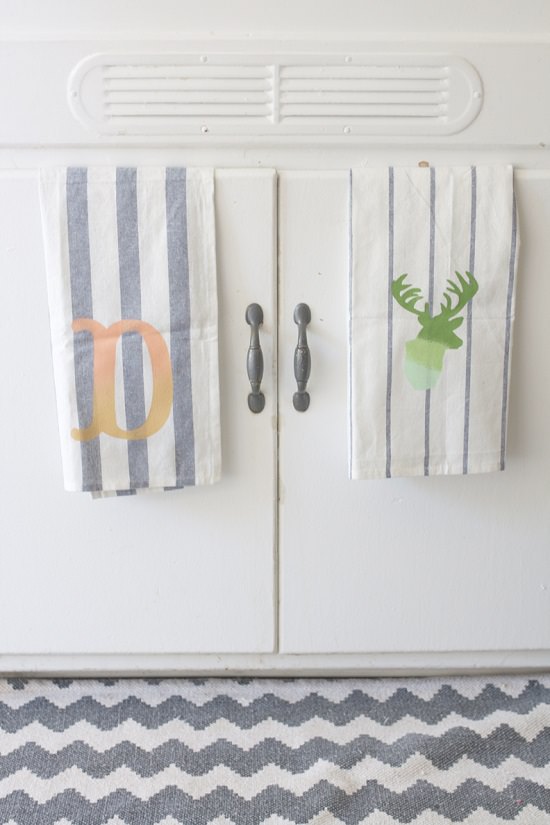
- Choose which color of paint you would like to use on your design. I combined my colors to get an ombre effect. I used green and mint for the stag, peach, and gold for my monogram letter.
- You will need two parts paint, one part fabric medium. Mix the two together until both are well blended.
- Dab the paint onto the towel using your stencil brush. You do not want to stroke the paint, just an up and down motion. Hence, dab.
- You may have to do a few coats, so make sure to wait until the paint has dried between each coat. You can use a blow dryer to quicken this step.
- Once you are finished painting and the paint has dried, carefully pull off your stencil paper.
- Take your parchment paper and place on top of your painted design. Iron over the design with the parchment paper in between. This will set your paint!
Once you do it once or twice you will quickly realize just how easy it is! I can’t wait to make more things for the home! The thing I love about stenciling is you can do so much with it! Make a pillow, tablecloth, curtains, the list goes on! I feel like these towels are great for my kitchen, they add a fun touch of spring!
Have you tried stenciling with freezer paper? What did you think? If not, give this DIY a try – you’ll have so much fun!


