Joel and I visited a flea market (I don’t remember when), where we saw this blanket with the traditional stripe design in a very bad shape with holes. But we still purchase this blanket because I have got an amazing DIY idea.
Directions
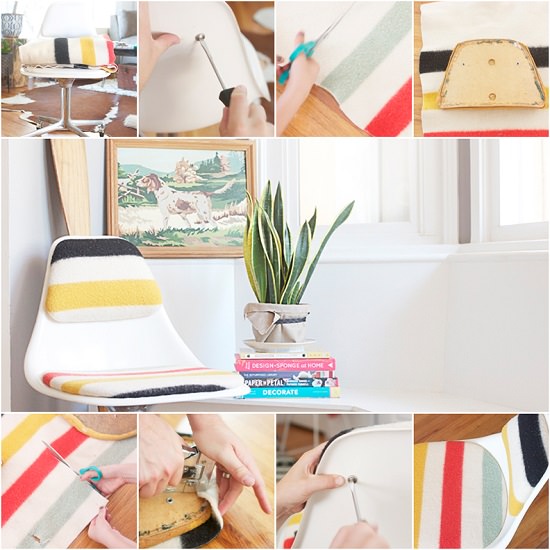
- Grab a thrifted chair that you can recover and material (like a National Parks blanket!)
- Remove the cushion(s) and upholstery
- Cut a section of your material that you are going to use to recover (save the remaining material for another project if you have enough!)
- Lay your cushion according to how you would like your design to be displayed
- Cut the fabric far enough away that you can wrap the material around your cushion
- Wrap your fabric around the cushion and securely hold while stapling it to the back of the cushion. Continue until the material is completely covering the cushion
- Place your cushions back on your chair
- Enjoy!!
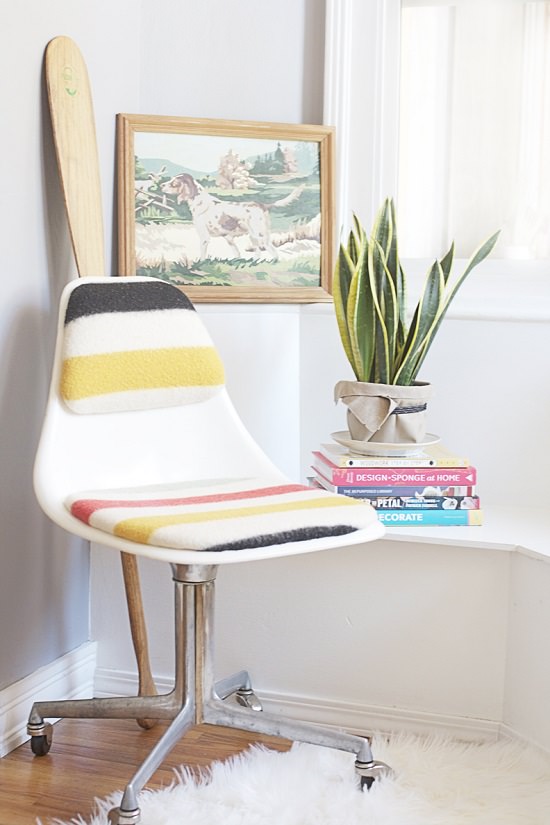
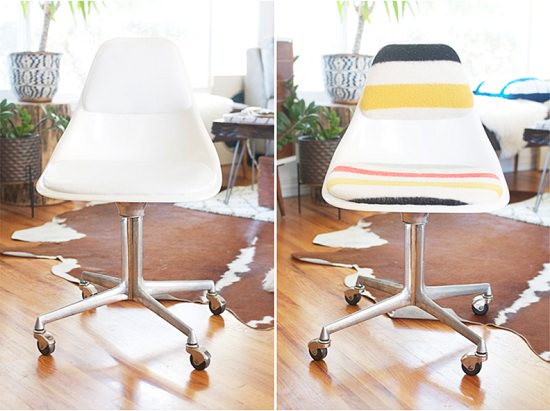
Loving the lines and pops of color! This chair will look so good in the boys new space! I’m currently working on their room design for the new house and searching for a fun Campaign Desk like this one to go alongside the Burke chair. I think the combination of the two will look amazing – or so I’m hoping anyway! If I can’t find one before we move, no problem! This would also make a great DIY too!
For now, I have a small collection of thrifted and flea market finds to go with our new and improved chair! Like the vintage Pelican Oar and paint by numbers print as shown. Not to mention a handful of great U.S. and Canadian national parks pennants! Can’t wait to show you the room reveal!
Well, friends! What do you think of this recovered Mid Century Burke Chair?


