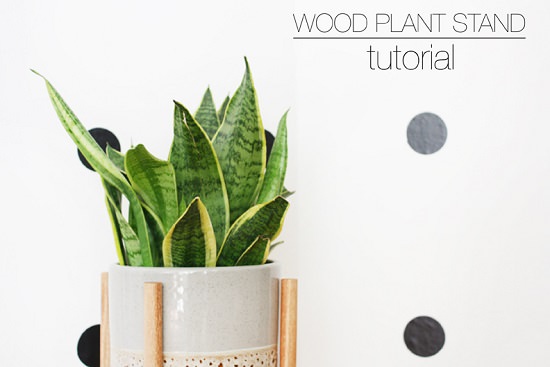
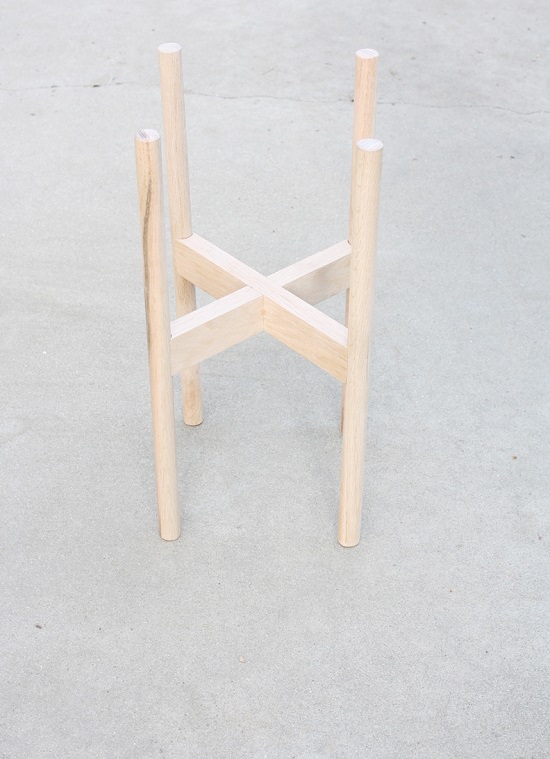
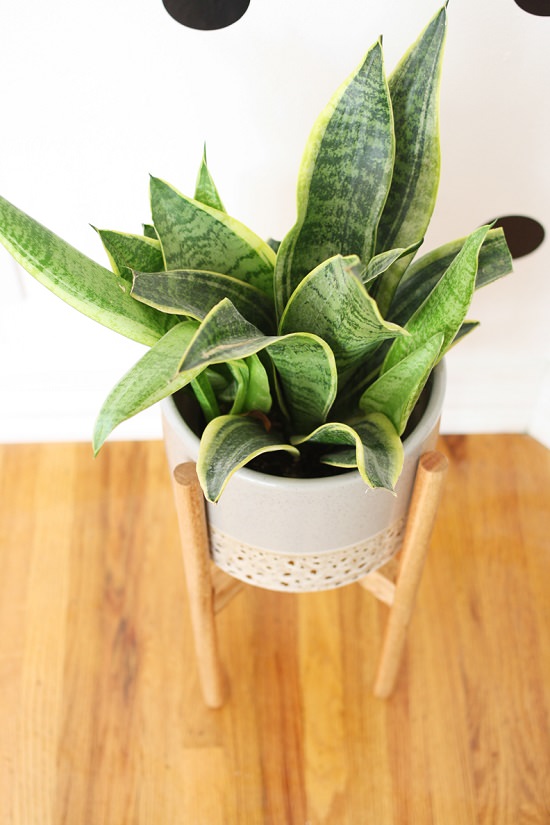
This modern and elegant DIY Wood Plant Stand is surely the best way to display your beautiful houseplants!
Alright my friends! Here is the tutorial for the DIY wood plant stand we made a couple of weeks ago inspired by Modernica! Since then, I’ve been thinking about ways to improve the design and decided to build another one from scratch. Using different techniques, we came up with a more modern and sleek look – I think you might agree!
What you’ll need
- 3/4″ hardwood dowel (red oak, walnut, rosewood, teak, etc.)
- 1 1/2″ x 3/4″ hardwood lumber (same wood type as dowel)
- 1/8″ dowels
- Wood glue
- Natural wood finish (Minwax, etc.)
- Drill press
- 3/4″ Forstner bit
- Table saw (can be done with a jigsaw)
- Clamps
- Orbital palm sander (optional)
- Fine grit sandpaper
How to Make DIY Wood Plant Stand
1.
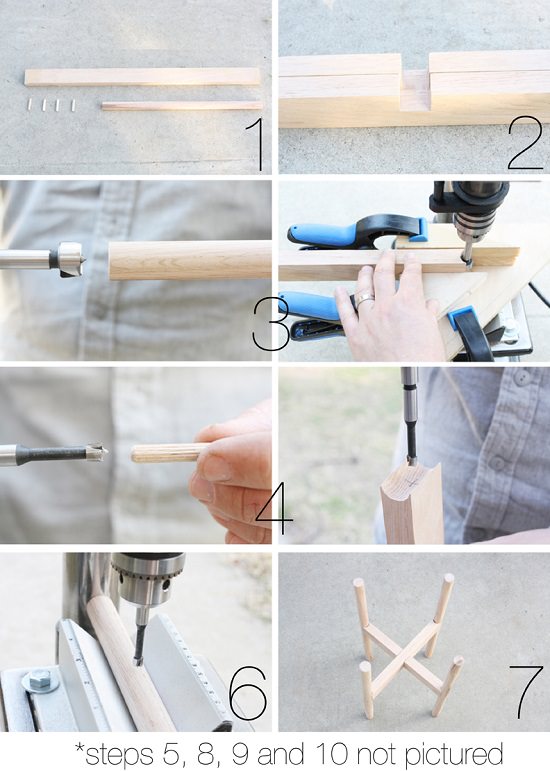
Cut two lengths of 1 1/2″ x 3/4″ longer than the diameter of the pot, for the crossbars. (mine were 9″ to fit our West Elm plant pot)
2.
Measure the halfway point on each length and cut out a 3/4″ x 3/4″ notch on the table saw (use a miter jig or sled) or with a jigsaw.
3.
Clamp each crossbar into your drill press and mill out each end halfway across the Forstner bit. (Forstner bits are the only bit that can do partial holes, but the workpiece must be firmly clamped. Handheld drill probably not useable in this way)
4.
Drill 1/8″ holes 1/2″ deep through the center of each end of the crossbars. (for 1/8″ dowels)
5.
Cut 4 lengths of 3/4″ dowel to the desired height of plant stand. (mine were 18″)
6.
Drill 1/8″ holes in each 3/4″ dowel at the desired height of pot base. (mine was the halfway point; 9″) Use a self-centering drill press jig for best centering result.
7.
Connect all pieces together with dowels to ensure everything fits, and the stand is level. If not, make necessary adjustments for leveling on a belt sander. Notches in the crossbars can be widened with a coarse file or go back to the table saw, or jig saw.
8.
When everything fits together tightly and level, sand each piece smooth.
9.
Used wood glue in each dowel hole and joint, clamp everything together tightly and let sit 6-12 hours.
10.
Use your choice of wood finish to seal and finish the final product. (I used Minwax natural oil finish)
I hope you found this DIY Wood Plant Stand tutorial helpful! Thanks for being so supportive and interested in our little projects! Feel free to leave a comment below if you have any questions.


