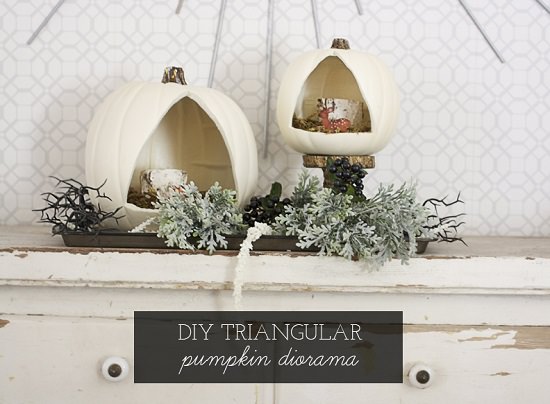
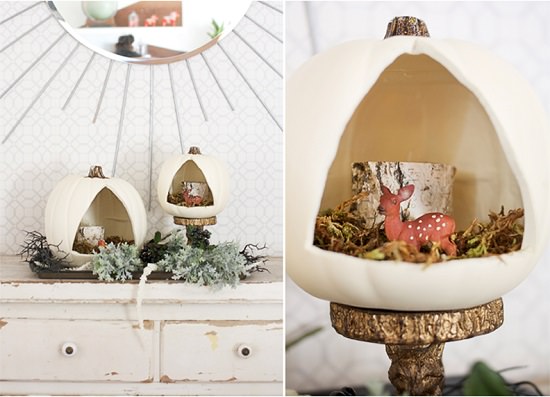
Try something a bit new and different for displaying pumpkins in your home this year! DIY triangular pumpkin diorama is one such idea that’s fun, whimsical, and genius!
DIY Triangular Pumpkin Diorama
Follow the below step-by-step directions to create a modern yet cheap display for a holiday arrangement. You don’t need any special DIYing skills to complete this project.
What you will need
- Plastic pumpkin (Michaels)
- X-Acto knife
- Pencil
- Moss
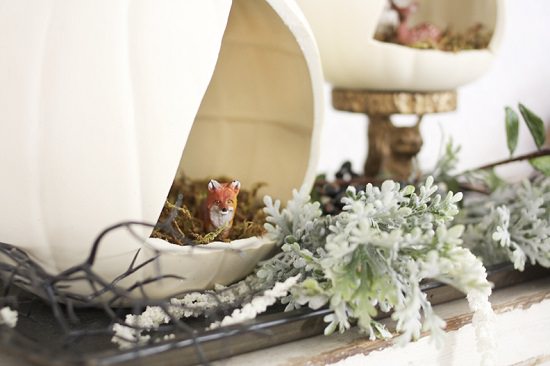
- Woodland creatures (I chose a deer and fox)
- Optional: candles
Directions
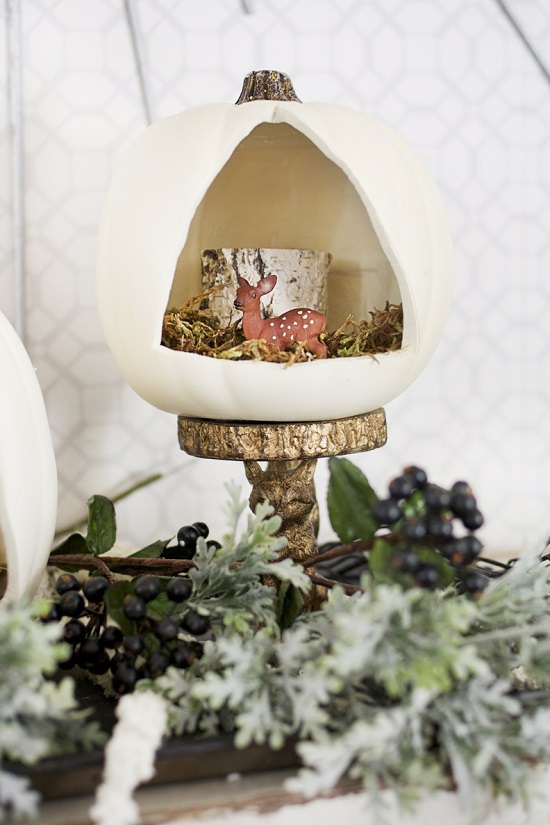
Instead of having a more traditional circular or square opening try something a bit different. Go for a triangular shape (surprise) and simply take your pencil to sketch a rough outline. Then carefully cut the outline with your X-Acto knife until you could remove the entire piece from the pumpkin. Place the moss inside and cover the base of your pumpkin. To keep it simple, place one candle and one woodland animal in each pumpkin. It’s really quite easy, hassle-free, and quick to do!
The playfulness and look of this project is lovely! You can display this masterpiece on a tray with some pretty foliage picked up from anywhere. This way, you can easily transport your entire piece without compromising it in any way. You can keep it on your buffet, or use it as a centerpiece for dining room table, or simply rest it on the mantel or on the porch’s table! It looks great in every place!
This project is one of my personal favorites because it gives a traditional holiday look in a different way. Go try it out yourself and feel the difference! If you love this craft, continue visiting us for many such fabulously frugal and unique ideas. Don’t forget to share this DIY with your loved ones. What do you think about these fun pumpkin dioramas, do tell me!


